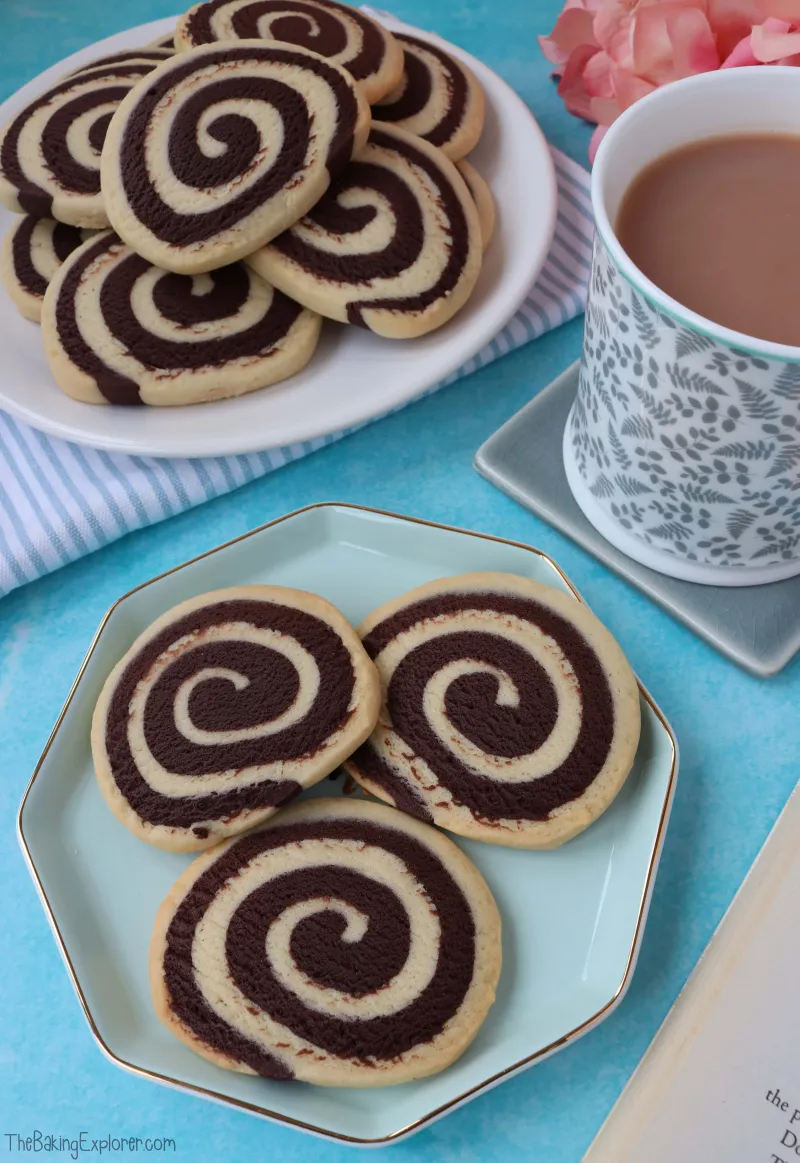
Chocolate & Vanilla Pinwheel Biscuits
Vanilla and chocolate biscuit doughs swirled together
Nutrition Facts
Ingredients
Instructions
To make the biscuit doughs, weigh out the butter and caster sugar for each dough into separate bowls
Mix them together until fluffy and smooth
In the vanilla dough bowl, add the egg and vanilla, and mix in
In the chocolate dough bowl, add the milk and egg, and mix in
In the vanilla dough bowl, add the plain flour, and mix in
In the chocolate dough bowl, add the plain flour and cocoa powder, and mix in
Shape both dough into balls or rectangles, wrap in cling film and chill them in the fridge for 1 hour
Onto two seperate sheets of greaseproof paper, roll out each dough into a rectangle that is approximately 12" by 10". I also cover the dough with greaseproof paper and roll over the top of it to stop the dough from sticking to the rolling pin
Using the paper to help you lift it, carefully lay the chocolate dough onto the vanilla dough, then peel the paper off the top. Then roll over them lightly with a rolling pin so that they stick together - again cover the dough with greaseproof paper to do this so it doesn't stick to the rolling pin
Then, like you would do with a swiss roll, roll up the doughs together tightly
Trim the ends if you like for neatness, then wrap the dough roll in cling film and put in the freezer for 1 hour or until ready to bake
When ready to bake the biscuits, pre-heat your oven to 160C Fan/350F/Gas Mark 4 and line your baking trays with baking paper
Take the rolls out of the freezer and let them thaw for 5-10 minutes. Slice them into 1/4" thick slices using a sharp knife and place on a baking tray, they will grow in size so leave space between them
Want to see how it turns out?
We've hidden the final 3 steps to support the original creator. Get the full, complete instructions directly from their site!
Continue Reading at Thebakingexplorer →


Comments & Photos
Be the first to share your thoughts!
Reviews from the Original Source
This falls right into my favourite baking category - simple but effective. And great to make with kids too. I'm going to visit with a friend next week so hopefully I'll have a chance to bake these with the nipper!
Did you make this recipe?
Leave a Comment