Oregon Trail Mini Skillet Cookies
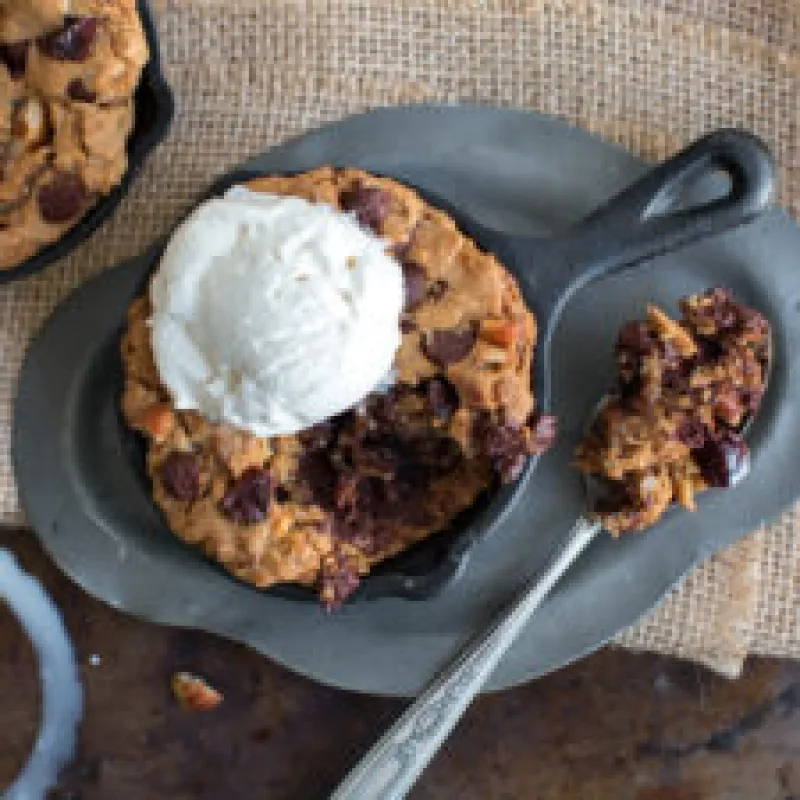
These warm and gooey Oregon Trail Mini Skillet Cookies are packed with rugged ingredients and individually baked in a lil' skillet, served hot with a chilly scoop of vanilla ice cream.
Ingredients
Instructions
Preheat oven to 350°
Once the oven is preheated, bake the hazelnuts for 8-10 minutes until they begin to darken and give off a nutty aroma.
Once the hazelnuts have cooled you can remove the skins by rolling handfuls of the nuts around in your bare hands or in a clean kitchen towel. Don't worry if the skins don't come off completely, they give the cookies character.
Measure the flour, baking soda, baking powder, salt and espresso powder into a bowl and whisk to combine.
Using a stand mixer with the paddle attachment, beat the butter, granulated sugar and brown sugar on medium speed for 3-5 minutes, until fluffy and light in color. Be sure to scrape down the bowl a few times during the process.
While the butter and sugar are mixing, roughly chop the hazelnuts and set aside.
Adjust the mixer to a low speed and slowly add the eggs, one at a time, and vanilla (I like to crack the eggs and add the vanilla in a measuring cup before adding it to the butter and sugar mixture). Scrape the bottom and sides of the bowl once.
Gradually add the dry ingredients in 2-3 additions with the mixer on low speed. Scrape the bottom and sides of the bowl to fully incorporate the butter and sugar.
Combine the oats, chocolate chunks, cherries, and hazelnuts in the same bowl you used for the dry ingredients, then add them into the mix with the mixer on low speed. Mix until everything is well distributed.
Use a large cookie scoop (4 tablespoon sized) to form the dough into balls. Arrange on a lined cookie sheet and press into 1/2 inch thick disks. Place the dough balls into mini 3.5" skillets to bake.
*At this point, I like to chill the remaining dough disks in the fridge for about an hour and then transfer them to a baggie and freeze so I have dough balls at the ready whenever my sweet tooth strikes.
Want to see how it turns out?
We've hidden the final 3 steps to support the original creator. Get the full, complete instructions directly from their site!
Continue Reading at Bakingthegoods →Chef's Notes
Notes
*Warning, You may want to serve with an oven mitt or kitchen towel to prevent burns!
*Warning, You may want to serve with an oven mitt or kitchen towel to prevent burns!


Comments & Photos
Be the first to share your thoughts!
Did you make this recipe?
Leave a Comment