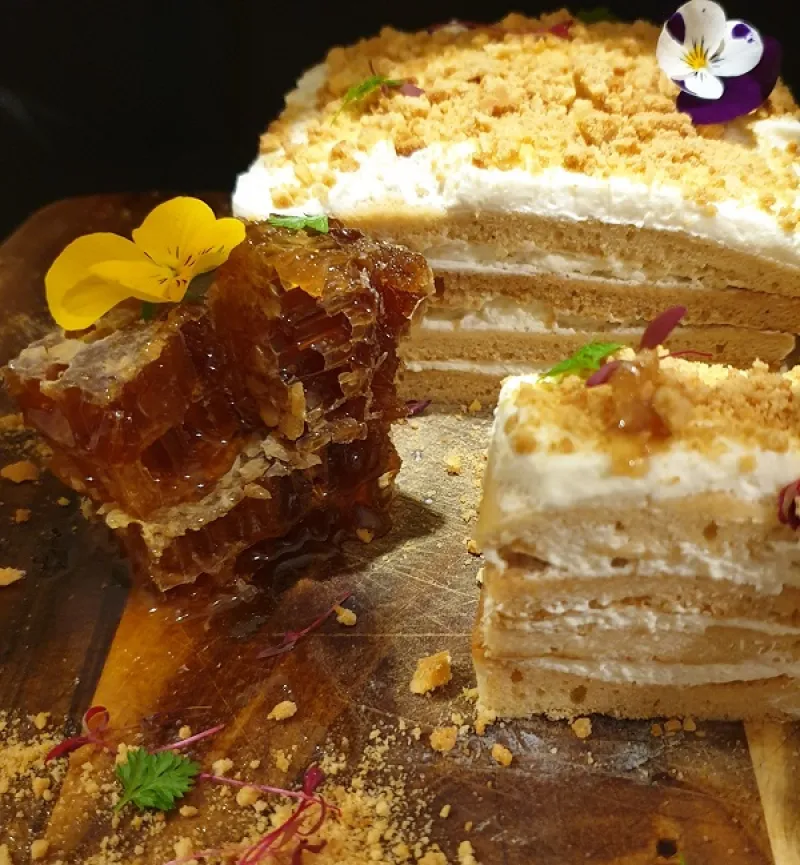
Honey cake
Honey cake
Ingredients
Instructions
Preheat your oven at 170°C Pour the milk into a sauce pan.
Add the sugar to it.
Add the butter to it.
Warm up the lot to 40-50°C ... If it boils just let it cool down..
Sift your flour and Bi carb of soda in a large bowl.
With a whisk, mix the milk, butter and sugar to the flour mix to make a batter.
Add a bit at the time to avoid lumps
Add the egg.
Add the honey.
Whisk until it is all well combined
Prepare a flat tray (20cm x 30cm). Spray a little bit of oil onto the tray. This help the baking paper to stick to the tray
Line the tray with baking paper (silicon paper).
Pour the honey batter onto the tray
With a spatula spread the batter mix to 1 mm thin. the thinner the better
Bake for 6 to 8 min at 180°C.
Remove from the oven cool down for 5 minutes and remove the biscuit off the tray to prevent drying.
When cool down trim the edge (1mm) and keep the trimmed crumbs for presentation
Cut it in 4 equals rectangular. It helps to use a ruler.
Using a large bowl, mix the cream and honey together until it becomes firm.
This can be done whilst the biscuit is baking or cooling down.
The cream should be whipped to soft peak and hold in the bowl. Keep it in the fridge.
Using a tray, cake board or a plate, place a layer of biscuit on it and spread over a bit of honey cream (1mm).
Place on top another layer of biscuit and repeat with the layer of cream. Repeat this layering process twice more trying to be as level as possible. Place the cake in the freezer for 3 to 4 hours. this will help you to cut it easily.
Meanwhile, use the left over of honey biscuit from the trimmings. Dry them a little more and crumb them.
Want to see how it turns out?
We've hidden the final 3 steps to support the original creator. Get the full, complete instructions directly from their site!
Continue Reading at Cookingwithfrenchy →


Comments & Photos
Be the first to share your thoughts!
Did you make this recipe?
Leave a Comment