Creamy Small Batch Cheesecake
If you don't want to make a big regular cheesecake, try this easy creamy small batch cheesecake with only 5 slices!

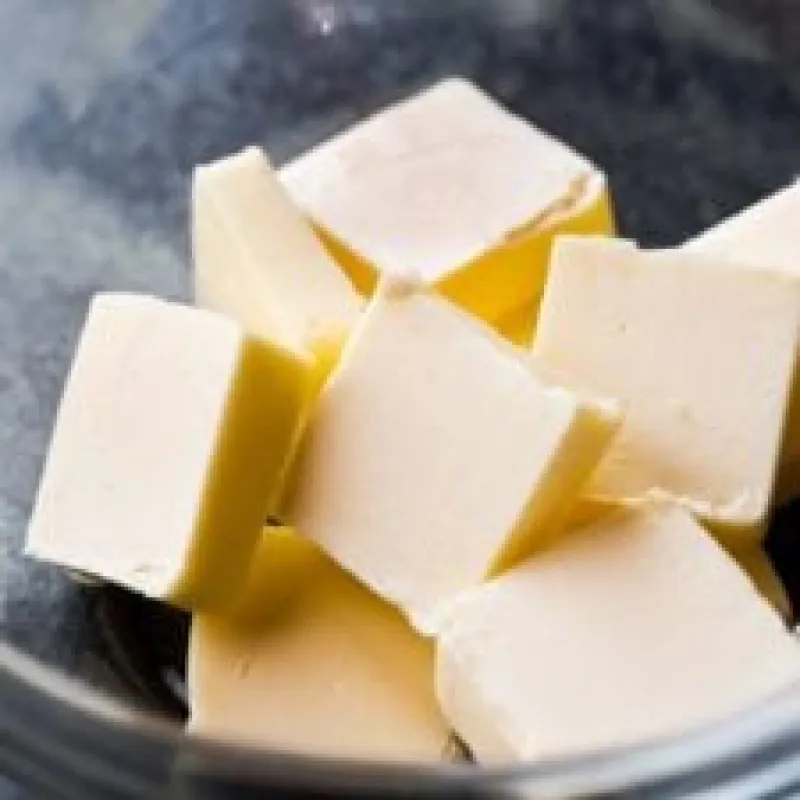
Ingredients
Instructions
Lower the oven rack to the lower third position and preheat oven to 325°F (163°C). Line a 9×5-inch loaf pan with parchment paper with enough overhang on the sides to easily remove the cheesecake from the pan. Set aside.
Mix all of the crust ingredients together. Pour into prepared loaf pan and using medium pressure, press the crust mixture down with your hand so it’s compact in the pan. Bake the crust for 20 minutes or until lightly golden brown on the edges and top.
While the crust is pre-baking, prepare the filling. In a large bowl using a hand mixer or a stand mixer fitted with a paddle attachment, beat the cream cheese on high speed until completely smooth. Beat in the sugar, egg, vanilla, and lemon juice until completely combined and smooth, about 2 minutes. Scrape down the sides and up the bottom of the bowl and beat again as needed.
Pour the batter on top of the warm crust and smooth into an even layer. It will look like a lot of cheesecake batter, but it will sink down as it bakes.
Want to see how it turns out?
We've hidden the final 3 steps to support the original creator. Get the full, complete instructions directly from their site!
Continue Reading at Sallysbakingaddiction →Chef's Notes
Make Ahead Instructions: Make this cheesecake ahead of time and let it sit in the refrigerator for up to 1 whole day in step 6. You can also make the filling and pre-bake the crust ahead of time. Cover and refrigerate both for up to 1 day before continuing with step 4. Cheesecake can be frozen up to 3 months. Thaw overnight in the refrigerator.
Special Tools (affiliate links): 9×5-inch Loaf Pan | Parchment Paper | Food Processor (for graham crackers) | Glass Mixing Bowl | Electric Mixer (Handheld or Stand) | Silicone Spatula | Cooling Rack
Non-US Readers: Don’t have graham crackers where you live? Use 180g ground digestive biscuits instead (about 12 biscuits), with the same amount of butter, and add 1 extra Tablespoon (12g) of sugar. You may need to add a few extra minutes to the pre-baking time, as digestive biscuits are not quite as crispy-crunchy as graham crackers. And from what I understand, spreadable cream cheese sold in a tub in countries outside of the US is a little different from the spreadable cream cheese in the US. It’s thicker, sturdier, and more solid and should be OK to make cheesecake. I have no experience with it, but this is what I’ve heard from other non-US readers.

Comments & Photos
Be the first to share your thoughts!
Reviews from the Original Source
I stumbled across your recipe looking for a cheesecake for two.
I must say this cheesecake came out beautiful! I did however add one additional egg yolk. Oh my, want a delicious treat!
Thank you for sharing this quick, easy, and simple recipe.
Hi Sally! This is my favorite cheesecake recipe but I wish I could make a bigger batch. Can I double the recipe and bake it in a round 9 inch springform pan? Do I need to change anything (temperature, baking time, etc)? No water bath please!
I made this today in my 6-inch springform. The bake took closer to an hour, checking every 5 min after it hit 45 min. I let it cool in the oven with the door propped open, and there was no collapse or cracking. Now getting rave reviews from the cheesecake fans in my family as they enjoy and watch the great holiday classic, Die Hard. Absolutely beautiful recipe with cwonderful flavor and texture.
This came out delicious! Perfect size for our family of 3!
This recipe is great! Thank you for sharing. Downside is I always want more after.
I did have one question though, I don’t have issues with the filling and I have made this twice, but my crust is always so hard, what could I do better?
It’s probably something as simple as not putting the crust in for as long?
Thank you for this recipe! It was perfect for my daughters birthday. Followed the recipe exactly with the exception that I used Digestive biscuits (UK cookie brand!) plus the strawberry sauce and it was delicious!!
We loved this cheesecake! I made no changes. It was easy to make and delicious. I used Comstock cherry pie filling.
Welp. I made this once. This was my first ever cheesecake and it was so delicious that I can't see how I can ever make another cause I wanted to eat all of it.
Sally's baking addiction is the best, i've been using all you recipes each time I want to make a new cake recipe, i'm guaranteed excellent results.
Wonderful recipe...
I have a toaster/convection oven and a 7.5 x 10.5 cake pan
(Farberware toaster oven set).
I added .. 8oz of cream cheese, 1/4c. sugar, and 1 egg yolk to increase the batter just a tad (following original ratio). Bake as directed or until cake is puffed evenly across top.
Perfect amount of creamyness and sweetness. I have tried one other recipe after discovering this jewel and have decided to never stray from this recipe again.
Thank you for sharing this with us!
Did you make this recipe?
Leave a Comment