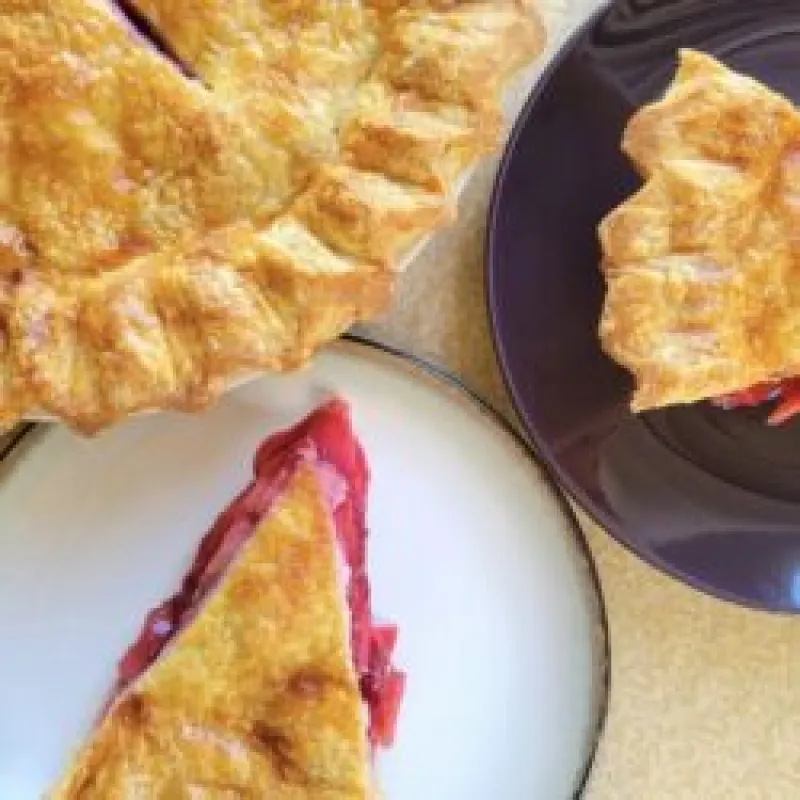
Apple Raspberry Pie
Apple and raspberry complement each other so nicely in this pie filling, balancing sweetness, texture, and acidity. While you can use any flour for the crust, white Kamut adds a unique butteriness and almost phyllo-like texture to the flaky crust.
Ingredients
Instructions
Crust
See the Photo Gallery for images of these steps.
Grate the refrigerator-temp butter onto a plate and then refrigerate it again for at least 20 minutes.
Whisk together the flour, sugar, and salt in a bowl.
Add the cold grated butter to the bowl and sift/toss it with your fingers, a bowl scraper, or a pastry blender until all the butter shreds are coated in flour.
Begin adding ice water a tablespoon at a time while chopping/stirring the mixture with a bowl scraper or pastry blender.
Press the dough down with your fist to check if it comes together. Add more ice water if not.
When there is almost no dry flour, transfer the dough to a clean work surface and form it into a disk. At this point there should be no dry flour.
Dust the dough with flour and roll it out to about 1/2-inch thickness with a rolling pin.
Fold the dough in thirds, press it down with the rolling pin, and cut it in half.
Place the two dough halves in a closed container or wrap in plastic and refrigerate for at least 30 minutes.
Filling
In a small bowl, whisk together the sugar, flour, and a pinch of salt.
Peel and finely slice apples until you have about 4 cups.
Add the flour-sugar-salt to the apple slices and stir thoroughly.
Gently fold in the raspberries.
Assembly & Baking
Preheat oven to 425°F and grease a standard size pie dish.
Remove the dough from the refrigerator. On a lightly floured work surface, roll one of the dough pieces out into a circle ~ 12-inches in diameter.
Using a bench scraper, lift the dough, place it in the pie dish and gently press the dough into the dish. Trim any overhanging dough to the edge of the plate. You can use it to fill in gaps if needed or to make decorative pieces for the top of the pie.
Roll the second dough out into a circle ~ 12-inches in diameter.
Pour/scoop the filling into the bottom crust and add the small pieces of butter. Cover with the second dough circle, trim the excess, and crimp the edges. If you want to shape any dough scraps (e.g. leaves), do this now.
Brush the crust with beaten egg, sprinkle with sugar, and cut a few vent slits in the center of the pie.
If you have a silicone pie shield, place it around the pie perimeter now. Most pie instructions do this later in the bake, but I find the crust edges burn if I wait. If you're making a shield with aluminum foil or you have a metal shield, you may want to wait until the pie has baked 15 minutes before adding the shield so the crust sets and doesn't stick to the shield. You could also try greasing the shield.
Put the pie in the preheated oven and bake it for 15 minutes at 425°F.
Lower the temperature to 350°F and put a baking sheet under the pie to catch any fruit-boil overflow.
Want to see how it turns out?
We've hidden the final 3 steps to support the original creator. Get the full, complete instructions directly from their site!
Continue Reading at Breadtopia →


Comments & Photos
Be the first to share your thoughts!
Did you make this recipe?
Leave a Comment