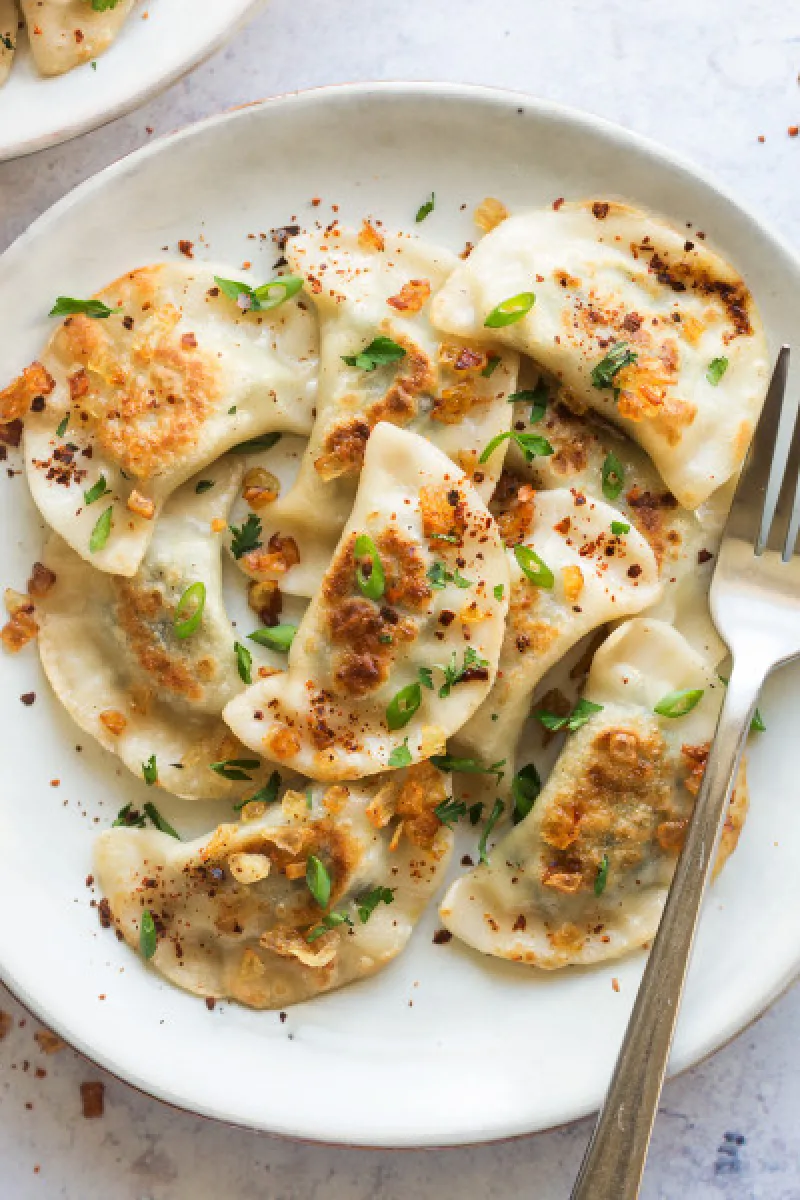
Vegan spinach and ricotta pierogi
Vegan spinach and ricotta pierogi is a dairy-free take on these classic savoury Polish dumplings. They are delicious pan fired in a little olive oil and served with crisped shallots.
Ingredients
Instructions
Heat up the olive oil in a medium pan. Gently fry diced shallots until translucent and lightly caramelised. Some of them will go into the filling and the rest will be used as topping. If using 3 shallots, remove 2/3 of the fried shallots and set aside for the topping.
Next add in garlic cloves and fry on a gentle heat for a few minutes, stirring the whole time.
Remove the aromatics from the pan, fill the pan with a cup of water and add washed spinach. Allow the spinach to wilt, moving it around frequently. Once wilted, lift it off the pan with tongs and place it on a sieve to cool.
Meanwhile, place tofu in the food processor together with aromatics, lemon juice, lemon zest, nutritional yeast, salt, nutmeg and pepper. Process until smooth, adjust seasoning to taste remembering that spinach that will get mixed into the 'ricotta' does not have any salt in it. Place the ricotta in a mixing bowl, but don't wash your food processor yet.
Once the spinach is cold, squeeze all the water out it it - I find that placing it in the middle of a muslin cloth and squeezing the water out gives the best result. Go over it more than once if necessary to ensure that it's a dry as possible.
Place dry spinach in the food processor and mince it well.
Add minced spinach to the ricotta and mix the two really well.
In a mixing bowl, combine flour and salt. Add aquafaba (if using) and olive oil. Mix well and add about 120 ml / ½ cup of hot water. Once combined roughly with a wooden spoon, start bringing the dough together with your hands. If after a little bit of kneading the dough isn't holding together (initially it's supposed to be a bit dry to the touch but hold together), it may need a bit more hot water. It is very important to add the water in very small amounts as too much water will negatively affect the dough. Knead it for about 5-10 minutes with your hands (after kneading, the dough should become very smooth and elastic, but not sticky) and then set aside for 30 minutes under a damp kitchen towel so that the dough doesn't dry up.
Once the dough has had a chance to rest, grab ¼ of the dough and roll it out with a rolling pin on a lightly floured surface. You want it to be about 1-2 mm thin; the thinner the dough, the tastier the dumplings. With a cookie cutter or an upside down glass, cut out circles in the dough. Place less than a teaspoon of the filling in the centre of each circle, fold the circle in half and press the edges of the semi-circle together with your fingers. Go over each dumpling twice to make sure everything is sealed completely. Put the finished dumplings on a lightly floured surface and cover them with a damp kitchen towel while making the rest so that they don't dry out. Continue in the same way until you've used up all of the dough or the filling.
Want to see how it turns out?
We've hidden the final 3 steps to support the original creator. Get the full, complete instructions directly from their site!
Continue Reading at Lazycatkitchen →


Comments & Photos
Be the first to share your thoughts!
Did you make this recipe?
Leave a Comment